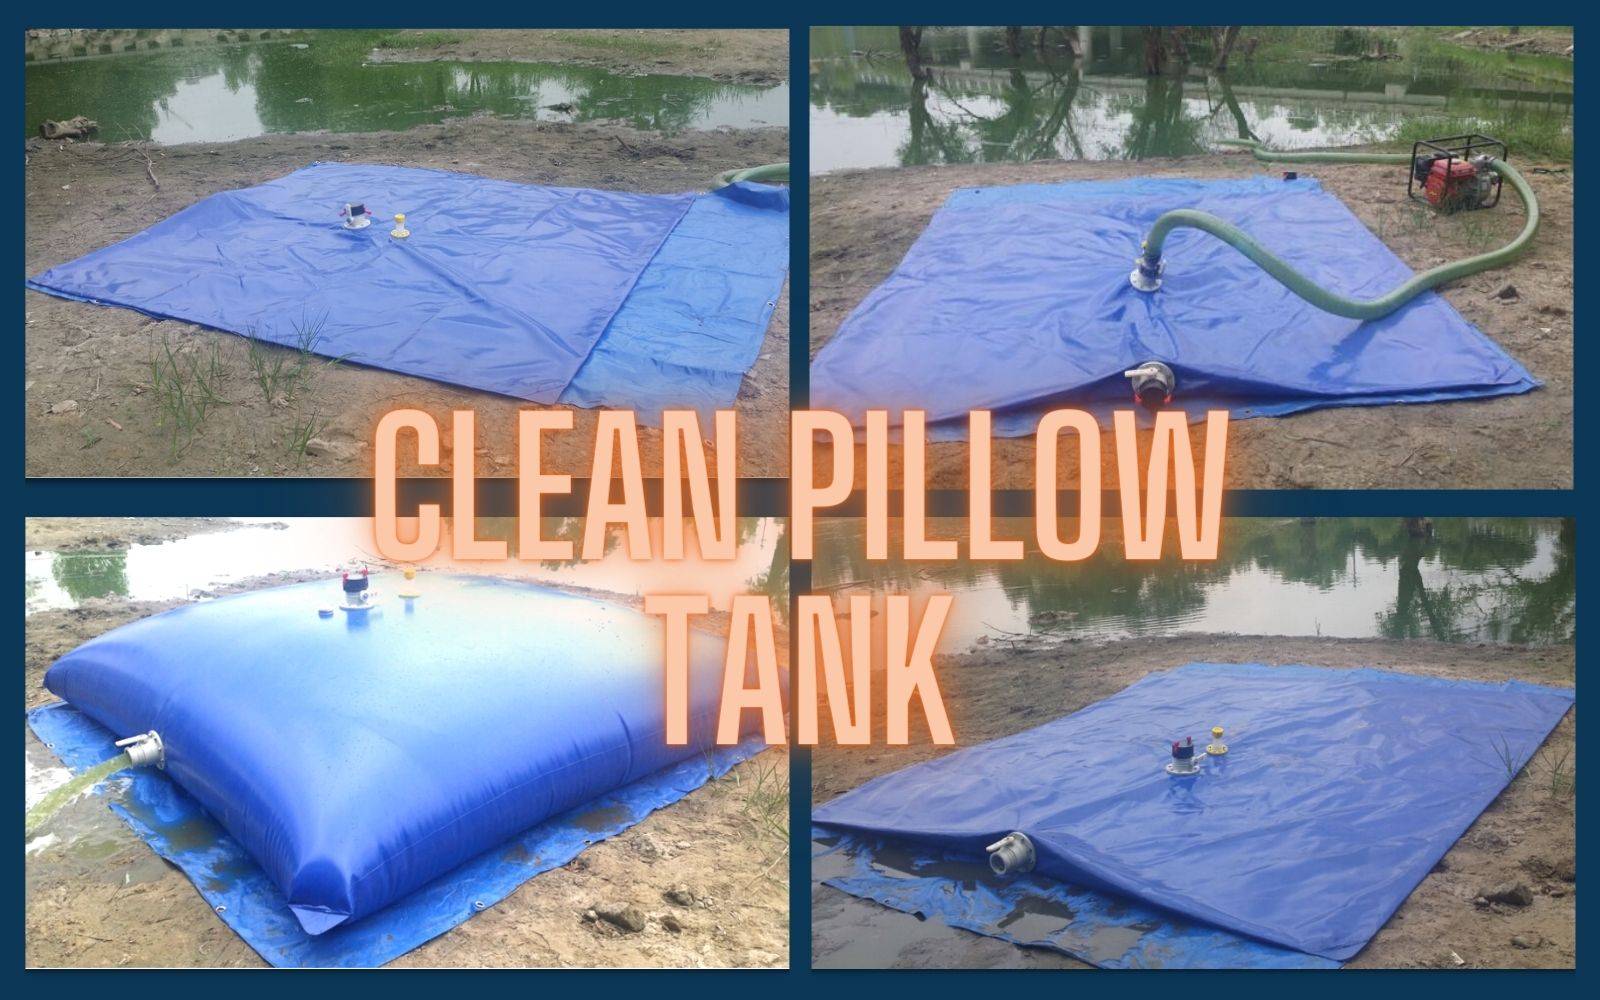
Pillow tanks(pillow tanks), also known as bladder tanks, are flexible storage tanks that are used for storing water, fuel, chemicals, and other liquids. Over time, pillow tanks can become dirty or contaminated with bacteria, mold, or algae, which can affect the quality of the stored liquid. It is therefore important to clean and maintain pillow tanks regularly to ensure that they remain in good condition and the stored liquid remains safe for use.
In this guide, we will outline the steps involved in cleaning a pillow tank:
Before you can clean a pillow bladder,
you need to drain the tank of all the liquid inside. This can be done by using a pump or gravity feed to empty the tank. Make sure to remove any remaining sediment or debris from the tank before proceeding to the next step.
When the tank is empty,
rinse the inside of the tank with clean water. Use a hose or pressure washer to rinse the tank thoroughly, making sure to remove any remaining sediment, debris, or loose contaminants from the tank walls and bottom.
After rinsing the tank,
add a cleaning solution to the tank. There are various types of cleaning solutions available, such as bleach, hydrogen peroxide, or specialized tank cleaners. Follow the Flixtank’s instructions for the recommended amount of cleaning solution to use, and mix the solution with water according to the recommended ratio.
Agitate the cleaning solution
inside the tank by using a pump or by moving the tank around. This will help to ensure that the cleaning solution reaches all areas of the tank, including hard-to-reach corners and crevices.
Once the cleaning solution has been agitated,
let it sit inside the tank for a period of time, as usual, Flixtank recommends 24-48 hours. This will allow the cleaning solution to work on any remaining contaminants or bacteria inside the tank.
After the cleaning solution has had time to work,
rinse the tank again with clean water to remove any remaining residue. Make sure to rinse the tank thoroughly, paying particular attention to areas that may be harder to reach, such as corners and seams.
To disinfect the tank, add a disinfectant solution to the tank.
There are various types of disinfectant solutions available, such as chlorine or hydrogen peroxide. Follow our instructions for the recommended amount of disinfectant to use, and mix the solution with water according to the recommended ratio.
Let the disinfectant solution
sit inside the tank for a period of time, as recommended by us. This will allow the disinfectant to work on any remaining bacteria or contaminants inside the tank.
After the disinfectant solution
has had time to work, rinse the tank one final time with clean water to remove any remaining residue. Make sure to rinse the tank thoroughly, paying particular attention to areas that may be harder to reach, such as corners and seams.
Once the tank has been rinsed,
drain any remaining water from the tank and let it dry completely. If possible, leave the tank out in the sun to dry, as sunlight can help to kill any remaining bacteria or mold inside the tank.
In conclusion, cleaning a pillow tank is a straightforward process that involves draining the tank, rinsing it with clean water, adding cleaning and disinfectant solutions, and rinsing the tank again. Regular cleaning and dry. Contact us to get different clean solutions for water pillow tanks, fuel pillow bladder, chemical pillow tanks.


